A leaking skylight can cause water to drip inside your home. This can damage your walls and roof if you don’t fix it quickly. Skylights let sunlight into your house, but sometimes they can start leaking because of rain or old parts. Fixing a leaking skylight fast is important to keep your home safe and dry. In this guide, you will learn easy steps to find the leak and fix it yourself.
Common Causes of Skylight Leaks
Before we fix the leak, let’s figure out why it’s happening. Here are the most common reasons:
Poor Installation
If the skylight was not installed properly, it might have flashing issues. Flashing is a thin layer of metal around the skylight that keeps water out. If it’s installed wrong, water sneaks in.
Worn-Out Seals and Gaskets
Over time, the rubber or foam seals around the skylight can wear out. Sun, rain, and wind make them weak. Once they get old, water can get through them.
Cracked or Damaged Glass
Sometimes the glass itself is the problem. Even a tiny crack in the skylight glass can let water drip in.
Clogged or Improper Roof Drainage
If your roof gutters are full of leaves or dirt, rainwater can’t drain properly. That water may pool around the skylight and find a way inside. These roof drainage problems are easy to miss but cause big trouble.
Tools and Materials You’ll Need
Ready to fix the leak yourself? Great! First, gather your tools:
- A caulking gun and roof-grade sealant
- Flashing tape or metal flashing
- A ladder, gloves, and a safety harness
- Some roofing cement or tar (if needed)
These are basic skylight repair tools you can find at most hardware stores.
How to Fix a Leaking Skylight (Step-by-Step)

A leaking skylight can lead to serious water damage if not fixed quickly. Fortunately, with a few simple tools and careful steps, you can repair it yourself and stop the leak for good.
Step 1 – Inspect the Skylight Thoroughly
Start by checking the skylight from inside your home, especially after it rains. Look for water stains, wet spots, or drips on the ceiling or walls near the skylight. Use a flashlight if needed.
Next, carefully go up onto your roof (only if it’s safe to do so). Look closely at the skylight and the area around it. You’re trying to locate the source of the leak. Common signs include:
- Cracks in the skylight glass
- Gaps or worn-out caulking along the frame
- Loose or rusty flashing
- Debris buildup in the skylight area
Identifying the exact problem will help you fix it more effectively.
Step 2 – Clean the Surrounding Area
Before you apply any sealant or make repairs, it’s important to clean the area properly. Use a dry cloth, brush, or putty knife to remove:
- Dirt and dust
- Old, flaking sealant
- Leaves, twigs, or moss
A clean surface helps the new sealant or flashing adhere better, making your fix last longer. Take your time with this step it sets the foundation for a successful repair.
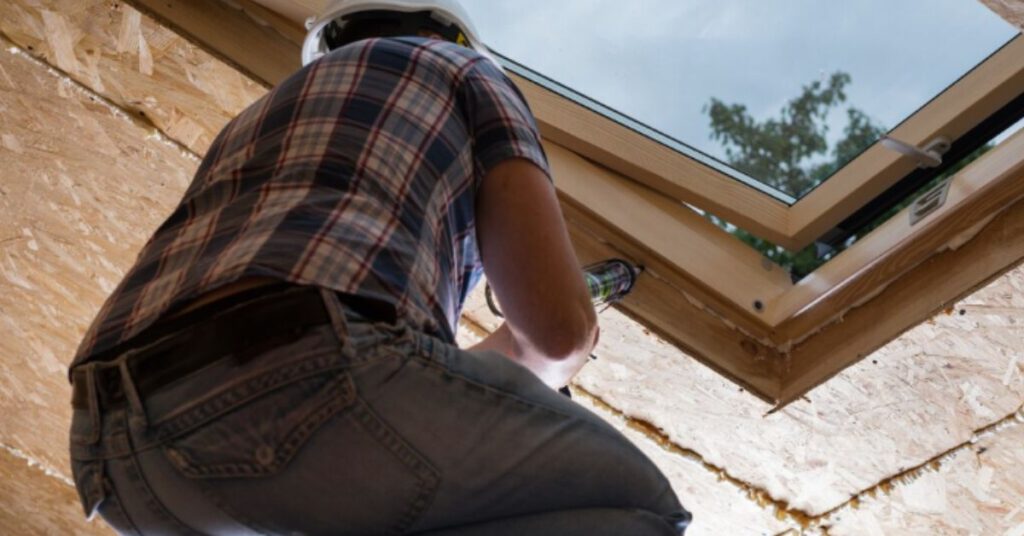
Step 3 – Reseal the Skylight Edges
Once the area is clean and dry, grab a high-quality exterior-grade roofing sealant and a caulking gun. Apply a steady bead of sealant around the edges of the skylight, especially where you found any cracks or gaps.
Be sure to cover:
- The seam between the skylight and the roof
- Any visible holes or openings
- Small cracks in the glass or frame (if any)
Smooth the sealant with your finger or a caulk tool for a tighter seal. This step helps quickly stop minor leaks and prevent water from seeping in again.
Step 4 – Replace or Repair Flashing
If the metal flashing around the skylight is damaged, rusted, or out of place, it can allow water to sneak in. Flashing is essential for directing water away from the skylight and keeping the roof watertight.
Depending on the issue:
- For minor damage: Apply roof flashing tape over the cracked or bent areas
- For serious damage: Remove the old flashing and install new metal step or apron flashing around the skylight
Use roofing nails and seal the edges with roofing cement or sealant. A solid flashing job ensures proper water drainage and strengthens the overall skylight flashing repair.
Step 5 – Test for Leaks After Repair
Once all the sealing and flashing work is done, it’s time to test your repair. Use a garden hose to gently spray water over the skylight and surrounding roof area
Go back inside and check for any signs of leaks:
- Look around the ceiling near the skylight
- Feel for any moisture
- Watch for drips or damp spots
If everything stays dry, congratulations you’ve successfully completed your DIY skylight leak fix! If there’s still a small leak, go back and inspect again. Sometimes a second sealing pass is needed.
When to Call a Professional
If your skylight is leaking and you’re unsure of the cause or if DIY fixes haven’t worked it’s time to call a professional. A roofing expert can properly inspect the skylight, flashing, and surrounding roof area to find the exact source of the leak. You should also contact a professional if you see signs of water damage inside your home, like ceiling stains, peeling paint, or mold. Trying to fix a leak without the right tools or experience can make the problem worse. Trusted companies like FH Constructions have skilled technicians who can safely and accurately repair skylight leaks, ensuring long-term protection for your home.
Preventing Future Skylight Leaks
Skylight leaks often happen due to poor installation, aging materials, or lack of maintenance. To avoid costly repairs in the future, follow these simple but effective tips:
1. Use Quality Materials
Always choose a skylight from a trusted brand with durable glass and a leak-resistant frame. Cheap materials may save money at first but can fail quickly. Look for skylights with proper flashing kits made for your roof type.
2. Hire a Skilled Installer
Poor installation is the top reason skylights leak. Make sure you hire a licensed roofer with experience in skylight installation. They’ll know how to seal the edges properly and fit the flashing correctly.
3. Check Regularly
Inspect your skylight and the roof area around it twice a year. Look for cracks, worn seals, or water stains inside your ceiling. Early signs of damage are easier (and cheaper) to fix.
4. Keep It Clean
Leaves, dirt, and debris around your skylight can block water drainage. Clean the area around the skylight and make sure nearby gutters are not clogged. Good drainage prevents water from pooling and leaking in.
5. Re-Seal When Needed
Over time, the sealant around your skylight can dry out or crack. If you notice gaps or peeling, reapply a waterproof roofing sealant to keep water out.
6. Upgrade Old Skylights
If your skylight is more than 15 years old and leaks often, consider replacing it with a newer model. Modern skylights are better designed to prevent leaks and improve energy efficiency.
Final Thoughts
Fixing a leaking skylight as soon as you notice the problem is very important to prevent further damage to your roof and home. By following the right steps finding the leak source, repairing seals, replacing damaged parts, and maintaining your skylight regularly you can keep your skylight strong and leak-free for many years. If the leak is difficult to fix or you are unsure, it is always best to call a professional to ensure the job is done safely and correctly. Taking care of your skylight will protect your home and keep your space bright and comfortable.