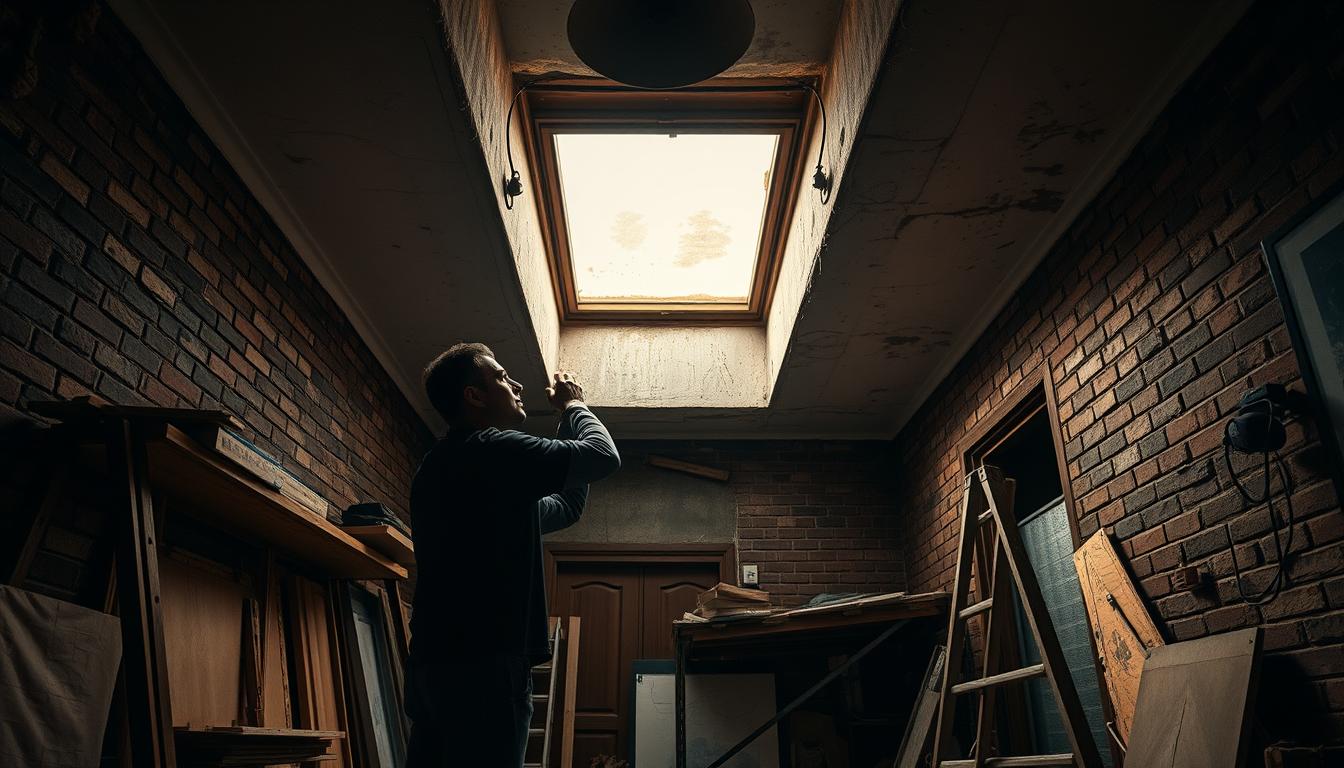
A few years ago, I worked with a family in Brooklyn Heights who dreamed of having more natural light in their long, narrow brownstone. Their kitchen always felt dim, even on sunny afternoons. After installing a skylight, the change was magical. The space went from gloomy to glowing in just a day. That’s the power of skylights.
In a city like Brooklyn, where buildings stand side by side and windows don’t always face the sun, skylights bring in light from above and completely transform how a home feels. Beyond beauty, they add ventilation, energy efficiency, and even value to your property.
In this guide, I’ll share the complete process of skylight installation and repair in Brooklyn, NY from understanding your options to navigating permits, from DIY steps to knowing when to call in a professional. Think of this as advice from someone who’s seen both the “wow” results and the “oops” mistakes firsthand.
1. Why Skylights are a Game-Changer for Brooklyn Homes
Brooklyn homes are charming, but they weren’t always designed with modern lighting needs in mind. Narrow layouts with shared walls and small backyards mean less sunlight indoors. Skylights solve that problem beautifully.
- Natural light:
- They brighten dark rooms
- reduce dependence on electric lights and
- make small spaces feel larger.
- Better ventilation: Ventilated skylights let hot air escape. It’s especially useful in
- attics
- kitchens and
- bathrooms.
- Energy efficiency: With more sunlight, you use fewer lights and sometimes less air conditioning.
| Note: A study (Frontiers in Energy Research) found that passive solar or daylighting designs can yield 47% lighting energy savings on clear days compared to conventional homes. |
- Resale value: Buyers in Brooklyn are drawn to bright, airy homes. A skylight can be a small feature that tips the scales in your favor.
| You need to know: Real estate or home improvement reports suggest that homes with skylights or abundant natural lighting may resell for 10–15% more than comparable homes with poor or negligible natural light. |
2. Types of Skylights You Can Choose From
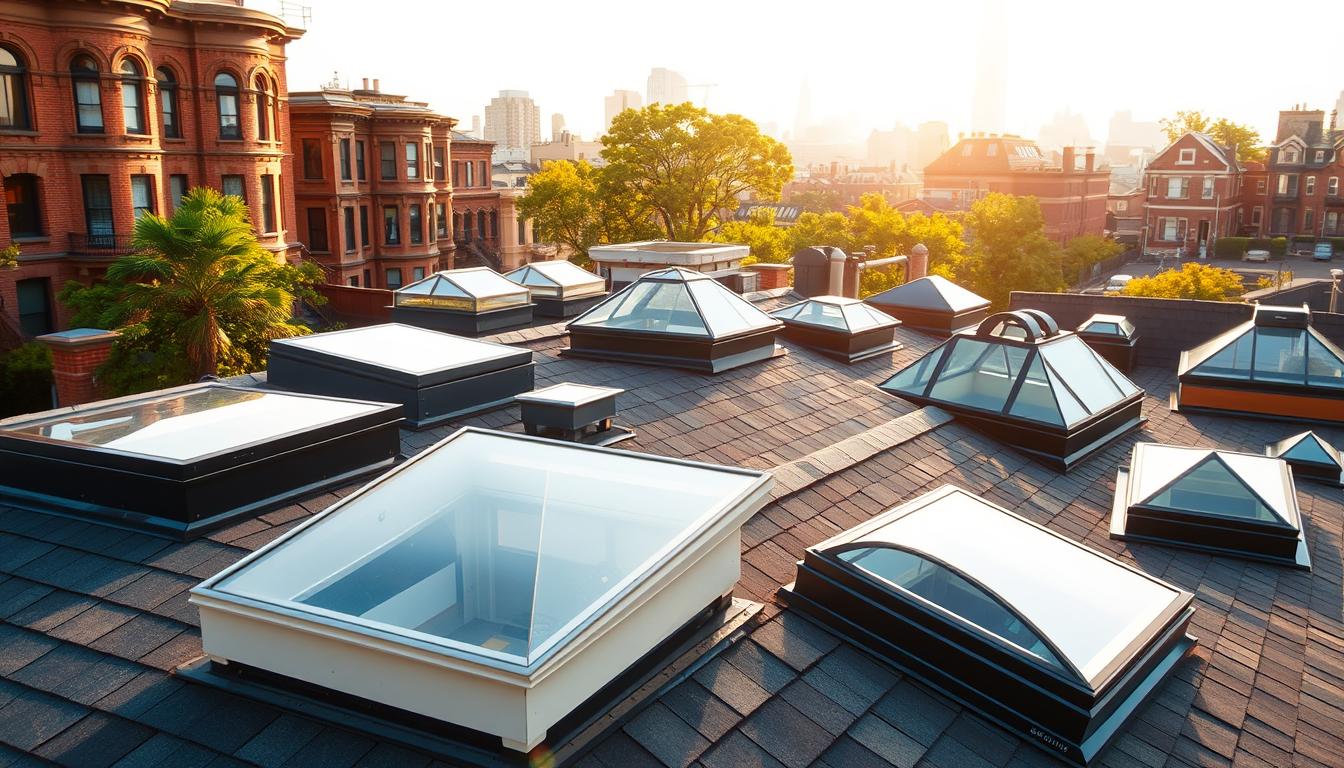
Skylights come in different shapes and purposes. The right one depends on your home’s design and what you want to achieve.
- Fixed Skylights: Non-opening, perfect for bringing light into
- living rooms
- hallways or
- staircases.
- Ventilated Skylights: Open manually or electronically to allow airflow. Ideal for stuffy rooms.
- Tubular Skylights: Small, tube-like designs that funnel light into tight spaces like closets or small bathrooms.
- Flat vs. Domed: In Brooklyn, many homes have flat roofs. Domed skylights are popular because they shed rainwater and snow easily. It reduced leak risks.
When I sit down with homeowners, I always start with one question: Do you want just light, or light plus airflow? The answer usually makes the choice clear.
3. Brooklyn, NY Building Codes and Permits You Must Know

Here’s something you cannot overlook: installing a skylight in Brooklyn often requires a permit.
The NYC Department of Buildings (DOB) has rules because cutting into a roof is considered a structural change. In most cases, you’ll need:
- A permit filed by a licensed contractor or architect.
- Compliance with fire safety and structural integrity codes.
- Inspections to ensure work is done properly.
Some homeowners try skipping permits to save time. But I’ve seen this backfire badly: fines, stop-work orders, or even problems when selling the property. My advice is always to do it the right way. It’s less stressful and protects your investment.
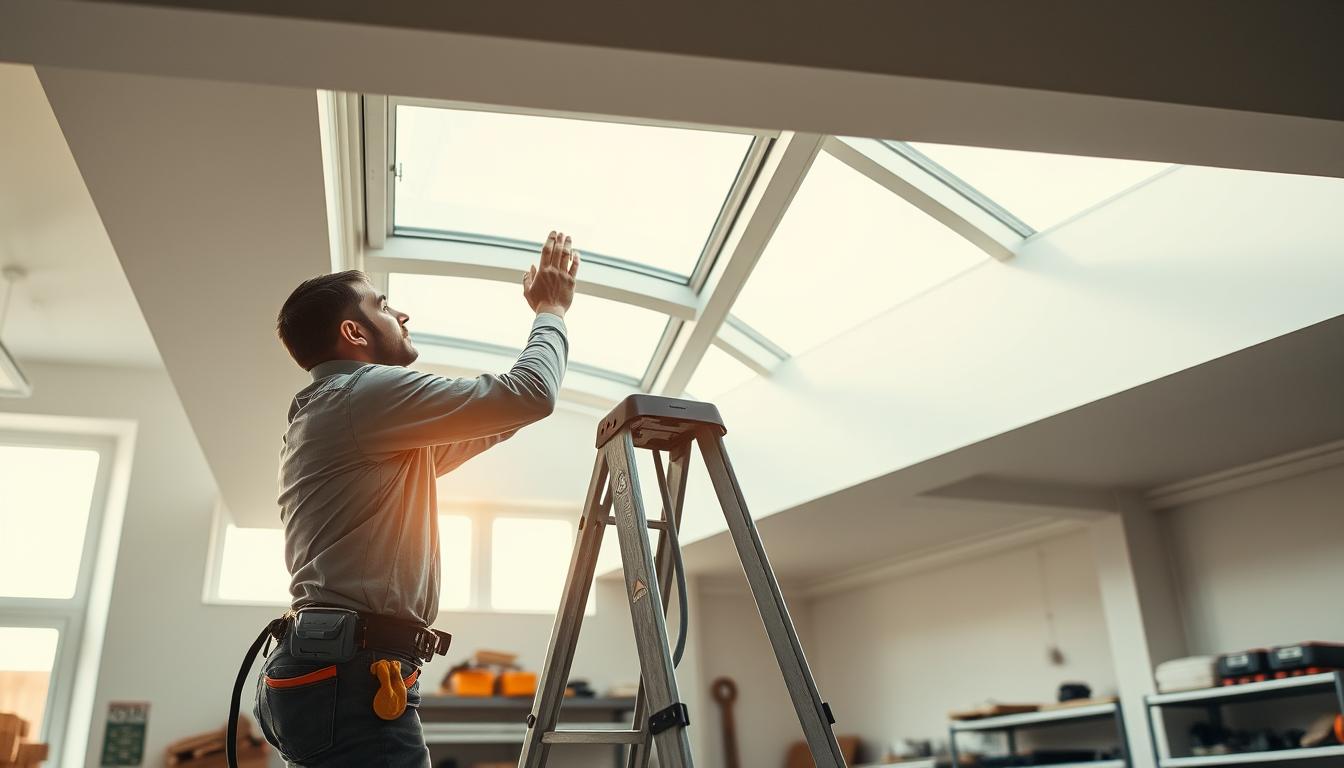
4. Preparing for Skylight Installation
Preparation sets the foundation for a successful project. Before installing, I usually follow this checklist:
- Check roof type: Flat roofs in Brooklyn need special attention because water pooling can be a risk. Sloped roofs need framing adjustments.
- Pick the best spot: North-facing skylights give soft light all day. South-facing ones provide stronger light but may cause heat buildup.
- Get tools and materials ready: Saw,skylight kit,flashing,nails,caulk,safety gear and ,drywall supplies for the interior finish.
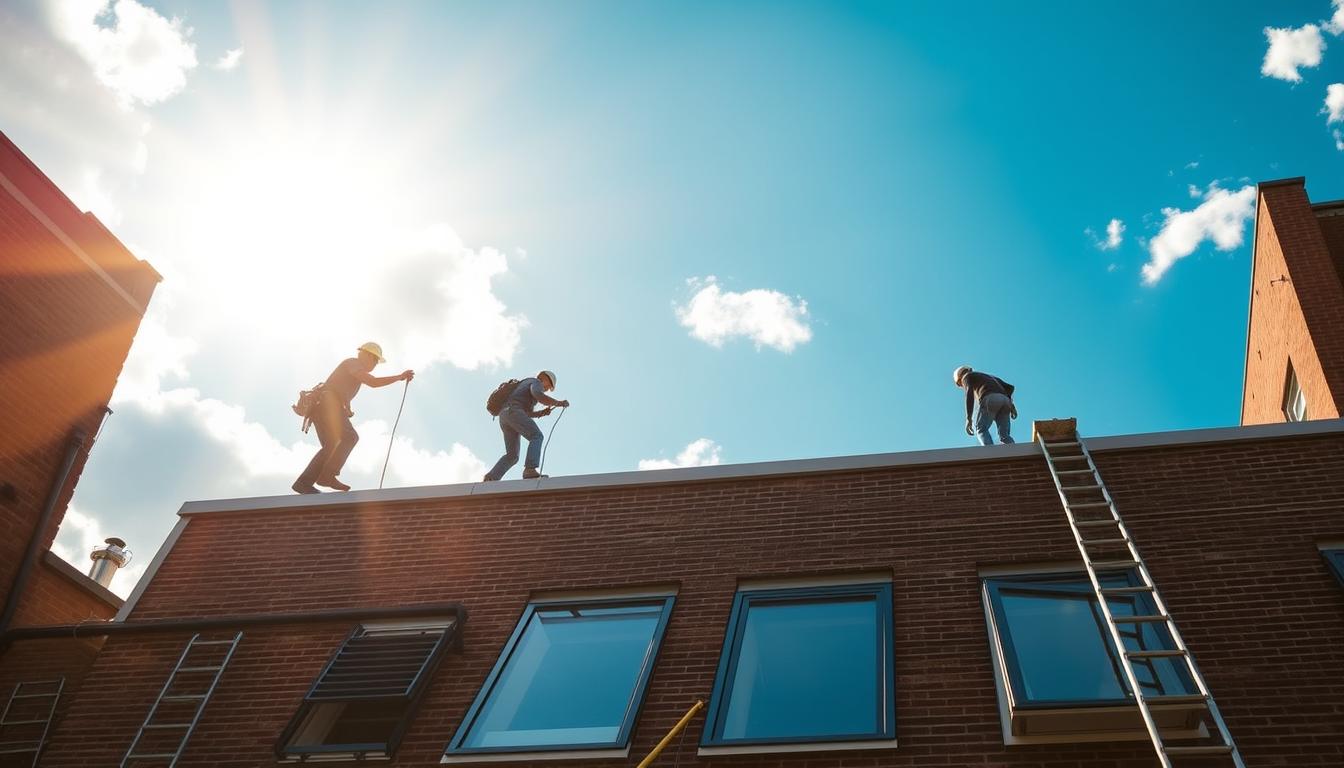
Think about safety: Roofs in Brooklyn can be tricky to access. -
- Use ladders carefully
- wear non-slip shoes and
- never attempt it on a windy or rainy day.
A little planning upfront saves a lot of trouble later. Especially when it comes to waterproofing and structural support.
5. Step-by-Step Process: How to Install a Skylight in Brooklyn, NY
Here’s a simplified breakdown of the process of skylight installation and repair in Brooklyn I usually follow:
Step 1: Mark and Cut the Roof Opening
Before picking up any tools, double-check your measurements. The saying “measure twice, cut once” couldn’t be more true here. Use a chalk line or pencil to mark the skylight’s outline between the roof rafters. From inside the attic or ceiling, cut the drywall first to expose the roof. Then carefully cut through the roofing material and sheathing from the outside. Make sure your opening matches the skylight dimensions. If it’s too small, it won’t fit; too large, sealing will become tricky. Take your time on this step.
Step 2: Frame the Opening
Once the hole is cut, the next step is strengthening the structure around it. Add framing (headers) above and below the opening, attaching them securely to the rafters. This helps redistribute the roof’s weight so the skylight doesn’t weaken the structure. In older Brooklyn brownstones, rafters may not be evenly spaced, so you may need to adjust the framing. Think of this step as building a sturdy “window frame” inside your roof. It keeps everything solid and ready for the skylight.
Step 3: Install the Skylight Unit
Now comes the exciting part; placing the skylight. Gently set the skylight into the framed opening from the outside. Make sure it sits flush against the roof and is perfectly square (aligned at right angles). If it’s tilted or uneven, you’ll have trouble with leaks later. Secure it with nails or screws according to the manufacturer’s instructions. Don’t rush! Check the fit from both inside and outside before moving on. A well-seated skylight will look like it belongs there, not like it was forced in.
Step 4: Seal and Flash Properly
This is the single most important step for long-term success. Flashing is the protective metal (or sometimes plastic) material that directs water away from the skylight. Start with an underlayment around the skylight base, then install step flashing along the sides, followed by head flashing on top. Seal any small gaps with roofing caulk. Brooklyn weather can be harsh! Rain, snow, and ice will find any weakness in your sealing. If you skimp here, you’ll likely deal with leaks. Follow the manufacturer’s flashing kit instructions closely, as every skylight model has its own system.
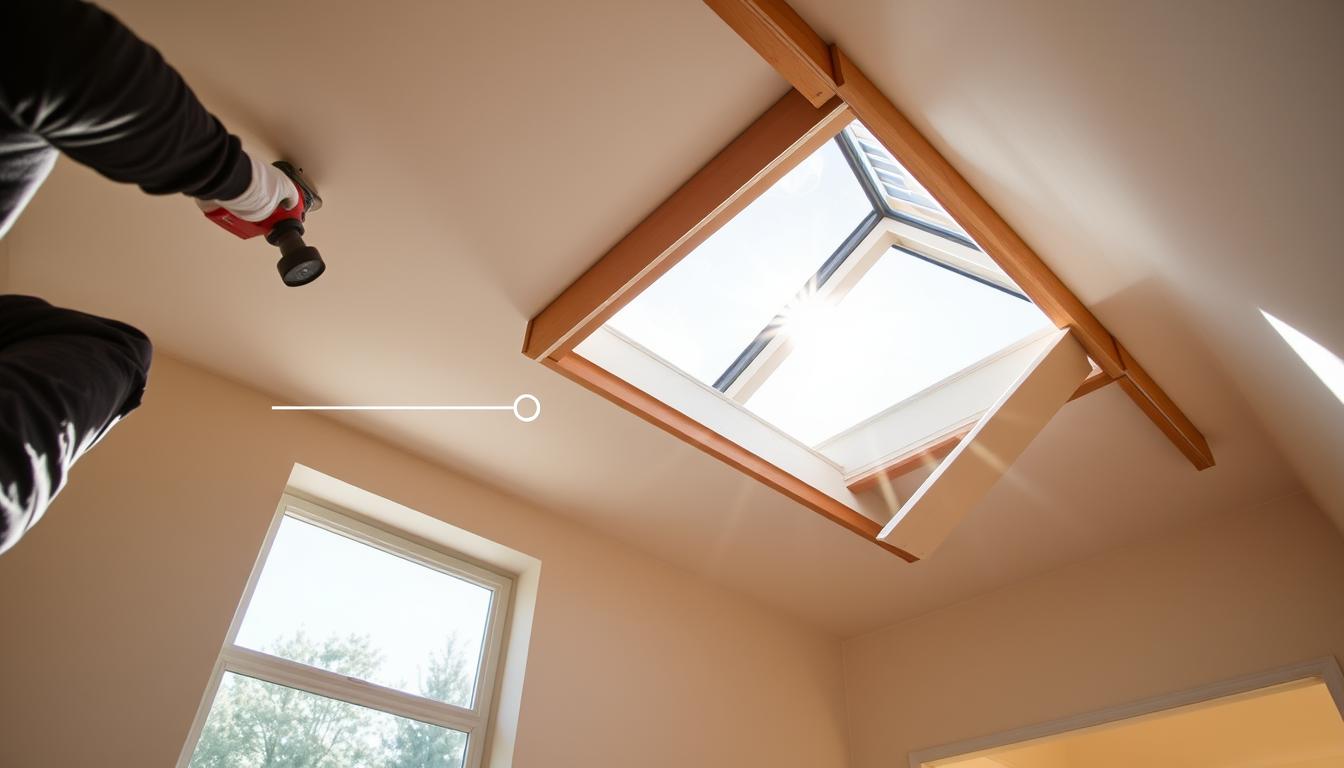
Step 5: Finish Inside the Home
Once the outside is watertight, move indoors to complete the look. Trim the rough opening with drywall, then tape, mud, and sand the seams for a smooth finish. Add trim or molding around the edges to frame the skylight neatly. A fresh coat of paint will make it blend seamlessly with your ceiling. This step transforms the skylight from just a hole in the roof into a polished architectural feature that elevates your home’s interior.
The most common mistake I see with DIY installations is poor flashing. Even a tiny gap can lead to leaks, and Brooklyn’s weather doesn’t forgive sloppy work.
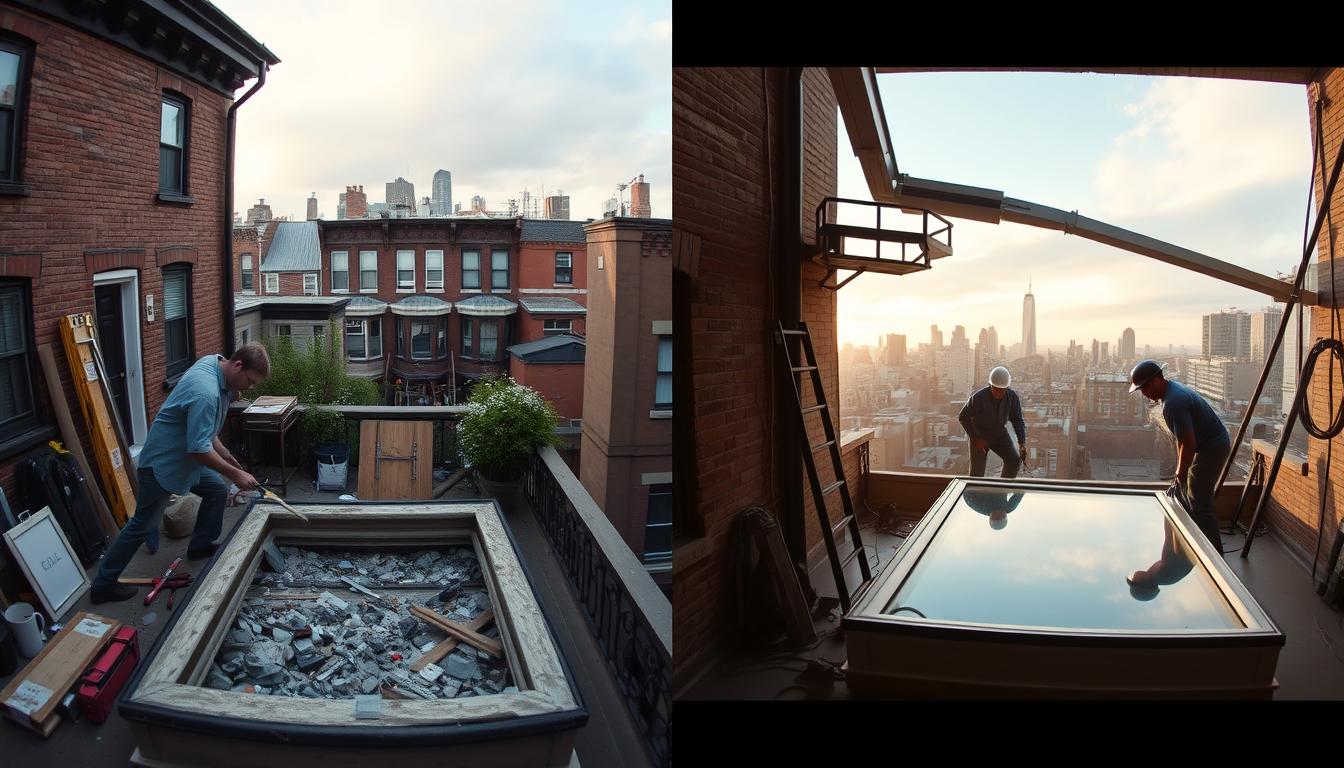
6. Common Challenges in Brooklyn Homes
Brooklyn architecture has unique quirks that affect skylight installation:
- Older brownstones: Roofs may be uneven or fragile. It requires extra framing.
- Flat roofs: Need careful waterproofing to prevent pooling water leaks.
- Dense neighborhoods: Dust and noise can affect neighbors. Always give them a heads-up.
- Weather timing: Winter installations are tough. Cold makes sealing difficult and snow adds risks.
I once worked on a Clinton Hill townhouse where the roof sagged slightly. We had to reinforce the framing before installing the skylight. Without that step, the structure could’ve been compromised.
7. DIY vs Professional Installation
Now, let’s tackle the big question: should you install a skylight yourself or hire a professional?
DIY Installation:
- Pros:
- Lower upfront cost
- satisfaction of doing it yourself
- flexible timing.
- Cons:
- Requires serious roofing skills
- high risk of leaks
- no permit support
- safety hazards and
- possible voided warranties.
Professional Installation:
- Pros:
- Licensed contractors handle permits
- proper flashing and sealing
- guaranteed workmanship
- faster completion and
- peace of mind.
- Cons:
- Higher upfront cost
- scheduling depends on contractor availability.
In Brooklyn, most homeowners I work with prefer professionals because the risks of leaks and permit issues aren’t worth it.
Hiring the Right Skylight Contractor in Brooklyn
If you decide to go professional, choosing the right contractor is key. Here’s my checklist:
- Verify they’re licensed and insured in NYC.
- Check online reviews and ratings.
- Ask for references from Brooklyn clients.
- Confirm they handle DOB permits.
Never rush into the lowest quote. The right contractor like FH Construction might cost more. But they save you from leaks and headaches later.
8. Maintenance and Care After Installation
A skylight isn’t just a one-time project; you need to maintain it.
- Clean the glass: Twice a year to prevent dirt and grime.
- Check for leaks: Especially after heavy rain or snow.
- Inspect flashing: At least once every spring and fall.
- Watch for condensation: Use ventilation to prevent moisture buildup.
With good care, a skylight can last 20–25 years, sometimes even longer. I’ve seen ones in Brooklyn brownstones last decades with only minor repairs.
9. Eco-Friendly and Smart Skylight Options
Modern skylights are much smarter than the old ones you may remember.
- Solar-powered skylights: Open automatically with sun power and even close when it rains.
- Energy-efficient glazing: Keeps heat in during winter and blocks it in summer.
- Smart skylights: Connect to apps and voice assistants for easy control.
I recently installed solar skylights in Carroll Gardens, and the homeowners loved how they could enjoy fresh air without worrying about closing them before a rainstorm; the system did it for them.
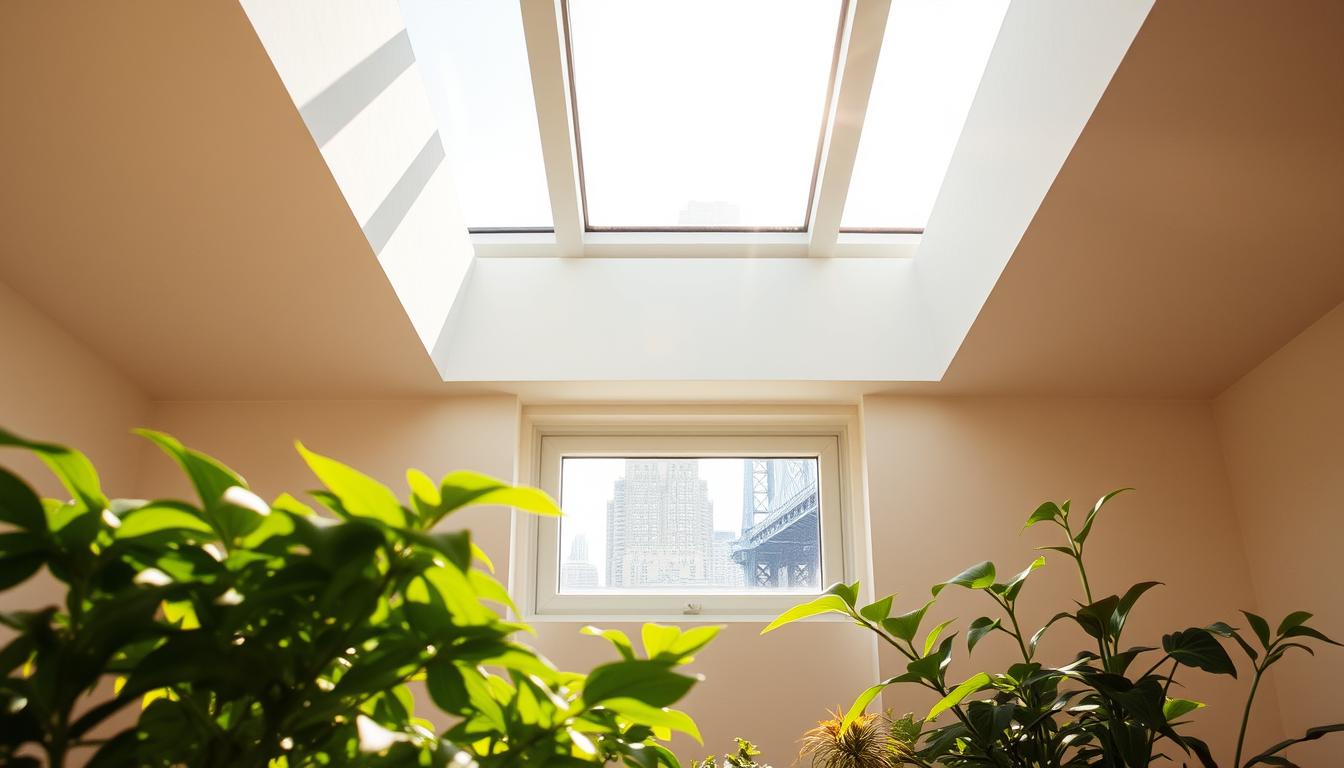
Conclusion
Skylight installation and repair in Brooklyn isn’t just about letting in light; it’s about reshaping your home’s atmosphere and lifestyle. From permits to installation, from choosing the right type to maintaining it, every step matters.
I’ve seen homes transform dramatically with one well-placed skylight. Kitchens become brighter, attics more breathable, and living rooms warmer. If you’ve been considering it, take the time to plan carefully and choose wisely between DIY and professional installation.
When that first beam of sunlight touches your floor, you’ll realize it wasn’t just an upgrade. It was an investment in comfort and joy!